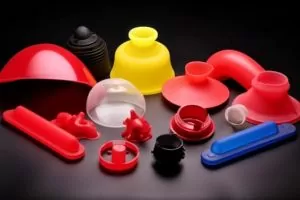
Silicone rubber molding is both an art and a science. Essentially, this practice allows designers to transform their design ideas or inspiration into actual products, which can range from delicate crafts all the way to industrial components. What limits this process, however, is the critical step of removing the hardened, molded silicone rubber product from the mold. On the surface this may sound simple, but this step is critical. It is the last step in the molding process, which means it is a critical step that can make or break the final product, especially when dealing with complex products or complex molds. Sometimes, it may be a thin or fragile product.
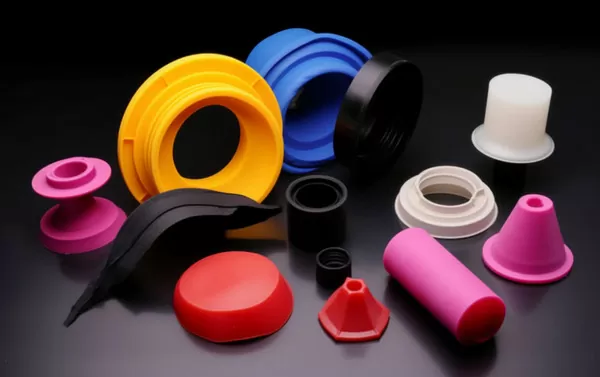
In this blog post, we’ll walk you through the intricacies of this technology. Along the way, we’ll provide valuable advice and tips to help refine your efforts – making removal of your finished silicone rubber product smoother.
Why the Mold Release Process is Critical?
Consider investing a lot of time and effort into producing a silicone rubber product, only to discover that it is defective because it cannot be released from the mold smoothly. This can have a range of consequences, ranging from purely aesthetic issues all the way to rendering the piece completely useless. Properly performing demolding releasing silicone rubber is not only an important thing for you to do, but it is absolutely crucial if your finished product is to have integrity.
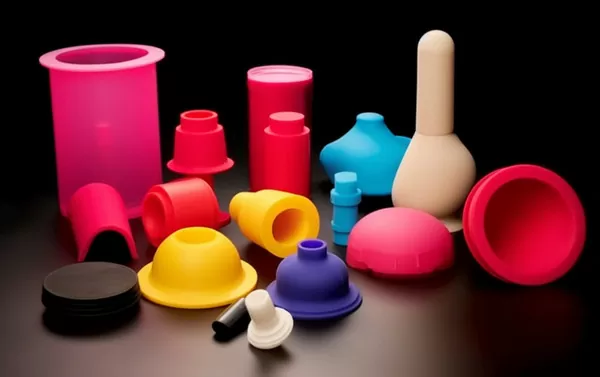
Understanding the Nature of Silicone Rubber
Before delving into mold release techniques, it’s important to understand the basics of silicone rubber. The material is highly sought after for its flexibility, ability to withstand high temperatures and general lack of chemical reactivity. Because of these properties, one must handle it in certain ways that are different from other substances:
1. The “Sticky” Challenge
Silicone rubber is famous for its good viscosity, which has natural advantages for product molding, but there are also problems with demolding.
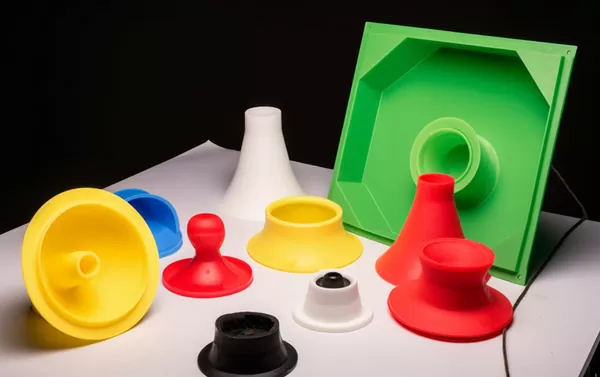
2.Softness and Flexibility
Silicone rubber materials have good softness and flexibility, which are quite advantageous when you are creating mold details or complex shapes. However, they can also make the production process difficult, and delicate molds can be at risk of tearing.
3. Thermal Performance
Temperature is important because silicone can maintain its softness over a wide range of temperatures, so it may need to be cooled or heated before the items can be properly released from the mold.
Choosing the Right Type of Mold Release
Selecting a suitable mold release and silicone caulk is the first step to ensuring a successful product release. Here are some factors to consider:
1. Water-based Versus Solvent-Based
Water-based release agents are generally a good choice for most silicone compounds, and they are also safe for the environment. However, if you happen to use platinum-cured silicone, this may not actually be your best option.
In this case, it is still possible (and recommended) to use solvent-based release agents – keep in mind that certain precautions need to be taken; either because of the increased flammability hazard of these products or because they require more careful handling overall.
2. Product-Specific Recommendations
When using mold release products, always follow the manufacturer’s recommendations for optimal performance.
3. Spray or Brush
When it comes to applying these types of items, there are two options worth considering: spraying them onto the surface or brushing them onto the surface.
Generally speaking, spraying an item provides better overall coverage, plus there won’t be any leftover puddles afterwards (which could otherwise negatively impact the finish). At the same time, brushing the pattern on the surface can provide a more precise effect, which may be necessary for larger molds that are not suitable for spray patterns.
Ensuring Proper Application of Mold Release
Ensuring you are using your release agent correctly is just as important as choosing the right product, here are some guidelines on how to do this:
1. Thoroughly Clean the Mold Surface
Clean the surface thoroughly with mold cleaner to remove any dust, possible remaining debris of material or previous mold release agent.
2. Apply a Thin, Even Coat
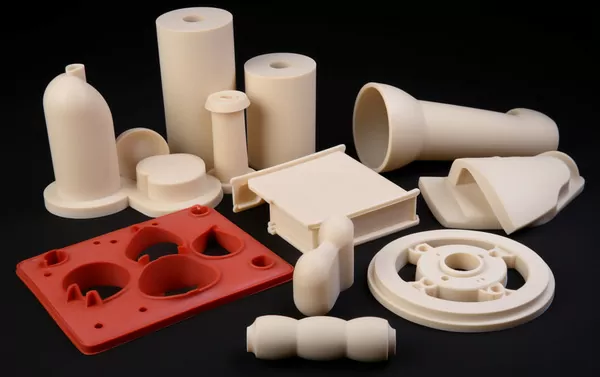
Apply a thin, even coat. Make sure to shake or stir well before applying the release agent so that everything is thoroughly mixed together. The goal is then to cover the entire area evenly but lightly, without overdoing it and saturating the object, as too much molding compound can cause buildup and defects in the final product.
3.Multiple Coats May be Required
Sometimes one coat just doesn’t cut it, especially when working with larger molds or molds with complex designs; in this case, applying multiple thin coats will help, just remember , each coat needs adequate drying time before starting another coat.
Implementing Mold Release in Your Molding Process
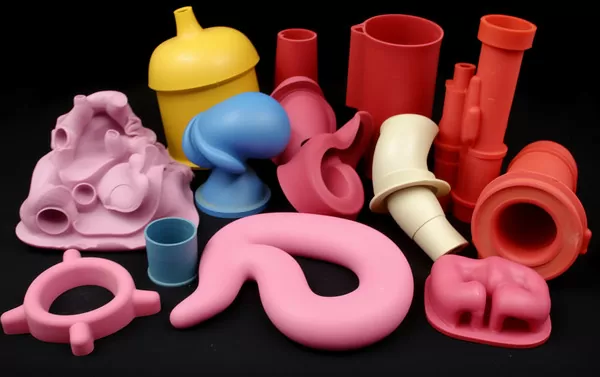
Incorporate a release agent into your molding process. Adding a release agent should be an important part of the entire molding process. These methods may help you:
1. Consistency is Key
Don’t skip the demoulding step, even if you think the mold doesn’t need it. The same application technique is used every time so that variables that affect product quality are kept to a minimum.
2. Preparatory Steps
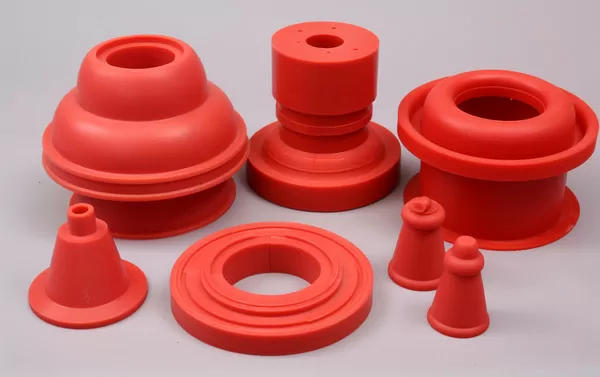
Preheat the mold when working with condensation cure silicone before applying the release agent. Cool the mold slightly when working with addition-cure silicone. This thermal gradient may help to subsequently remove the part from the mold more easily.
3. Post-Release Clean-Up
After the silicone product is demolded, these chemicals may still leave some residual material that needs to be cleaned up.
Troubleshooting Release Issues
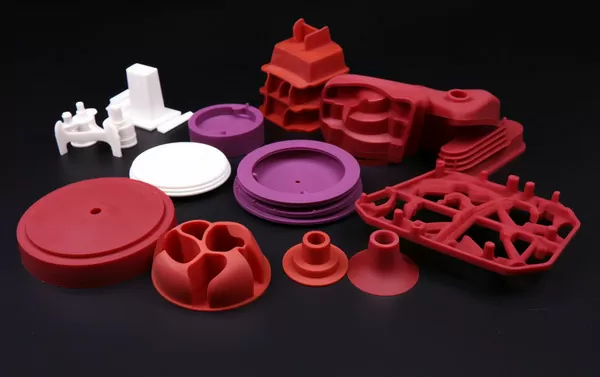
Even with a well-applied release agent, issues can still arise. Here’s how to address common problems:
1. Sticking or Tearing
If you are still having adhesion issues, double-check that the release agent is evenly applied and that the mold itself is at the correct temperature for the type of release agent being used.
If the material tears on removal, try using a different type of release agent. Consider using a release agent with certain molding materials that are generally more sticky, or changing the temperature of the mold when applying the product.

2. Imperfect Surface Finish
A greasy or rough surface finish can often be attributed to using too much release agent. You need to make sure to apply a thin layer evenly while working.
3. Mold Fouling
This happens when too much release agent builds up inside the mold, which can create bubbles or other marks on the finished surface. Regular cleaning and proper usage should help prevent this from happening.
Advanced Techniques for Mold Release
For experienced molders looking to fine-tune their process, here are a few advanced methods:
1. Air-Assisted Release Systems
This type of system utilizes a controlled blast of air to help remove the part from the mold. Although the upfront cost can be expensive, these systems are especially effective for complex or fragile parts.
2. Impact and Vibration
When working with specialty mold material or molds with deep undercuts or very fine details, controlled shock or vibration during the demoulding phase can help free stuck parts without damaging any other parts of the mold itself.
3. Customized Release Agents
Sometimes standard release agents are not adequate for certain jobs; they lack specific properties required for the application (such as high temperature resistance). In this case, manufacturers may choose to develop specially tailored formulations to handle difficult mold release situations.
The Role of Mold and Product Design
The early design of a product will have a great impact on the production process of the product. Factors such as the draft angle and parting line may make demoulding easier or more difficult for the mold and product. Here’s how design can help:
1. Incorporating Draft Angles
Considering the draft angle in advance in the design will make it easier for the part to come out of the mold after it is formed.
2. Smart Parting Lines
Strategically placed parting lines can help items release from the mold smoothly and help avoid undercuts that can complicate demolding.
3. Avoiding Sharp Corners and Edges
These features may cause the product to get stuck when unmoulding. Instead, if possible, choose a design with rounded corners as these are less likely to get stuck than designs with sharp corners.
Conclusion
Mold demoulding is an important part of the silicone rubber molding process. To do this well, you need to understand how silicone rubber works and choose the right release agent. You also have to apply it correctly and consider how it fits in with other things going on in the project. If you can do all of these things well, there’s a good chance that not only will your production speed up, but the quality of your product will likely improve as well.
To effectively remove silicone rubber articles from molds, a variety of methods and substances can be used. These may include silicone caulking, petroleum jelly or mineral spirits; for example, but also equipment such as mold boxes, vacuum chamber and sharp blade! However, pay close attention when using these techniques so that not only can you avoid any potential surface detail damage, but you can also deal with common problems such as removing air bubbles in the casting, whether it is removing old silicone or applying new silicone during the mold making process , will produce bubbles.
By paying careful attention to the smallest aspects of all production processes, you will be able to guarantee that your silicone rubber products will look perfect when they come out of the silicone mold. Silicone rubber molding is a process that requires precision, patience, and a willingness to learn from each release.

